How to Repair a Lead-Acid Battery: A Step-by-Step Guide
Published on July 14, 2025 | by EV Battery School
⚠️ IMPORTANT SAFETY DISCLAIMER
READ THIS BEFORE PROCEEDING: This guide is for educational purposes only. Lead-acid battery repair involves handling sulfuric acid and lead, both of which are hazardous materials. You attempt these procedures at your own risk. The author and website assume no responsibility for any injuries, property damage, or other consequences resulting from following these instructions. Always consult a professional if you’re unsure about any procedure.

Required Safety Equipment:
- Safety goggles and face shield
- Acid-resistant gloves (nitrile or neoprene)
- Protective clothing
- Well-ventilated work area
- Eyewash station or clean water nearby
- Baking soda for acid neutralization
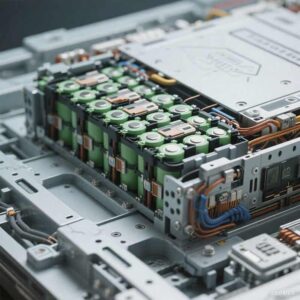
Before diving into repairs, you need to understand what you’re working with. If you haven’t already, read our comprehensive guide on The Structure and Working Theory of a Lead-Acid Battery to understand the internal components and chemical processes you’ll be dealing with.
When Is Repair Worth Attempting?
Not every dead battery can be saved. Here’s when repair might work:
Good Candidates for Repair:
- Battery holds some charge but drains quickly
- Voltage reads 10-12V but won’t hold under load
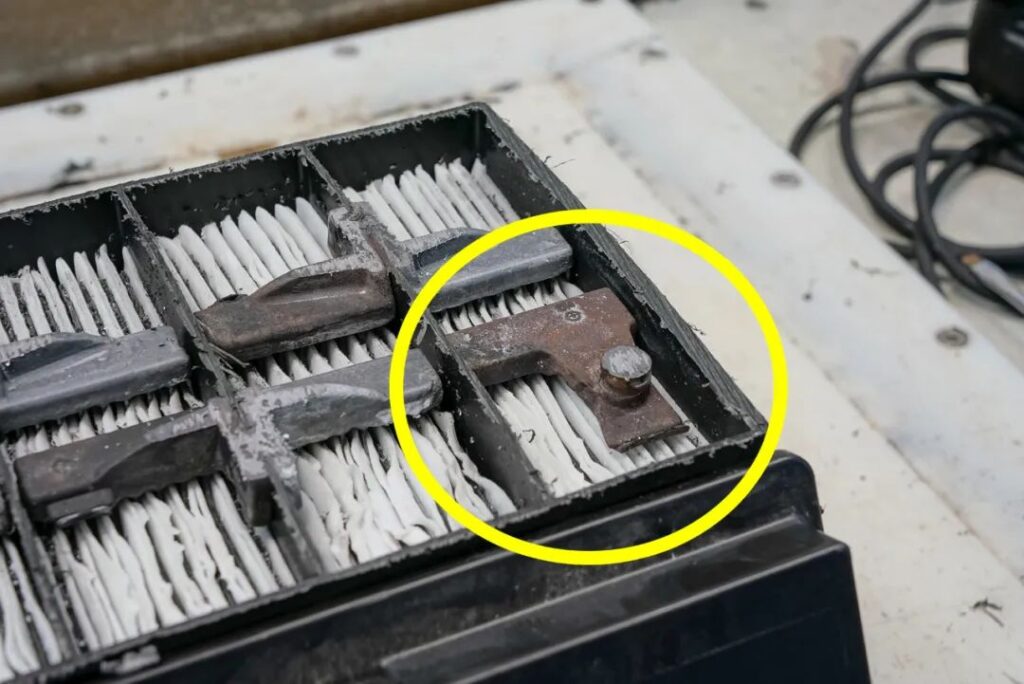
- Sulfation buildup (white crystals on plates)
- Low electrolyte levels in flooded batteries
Don’t Bother If:
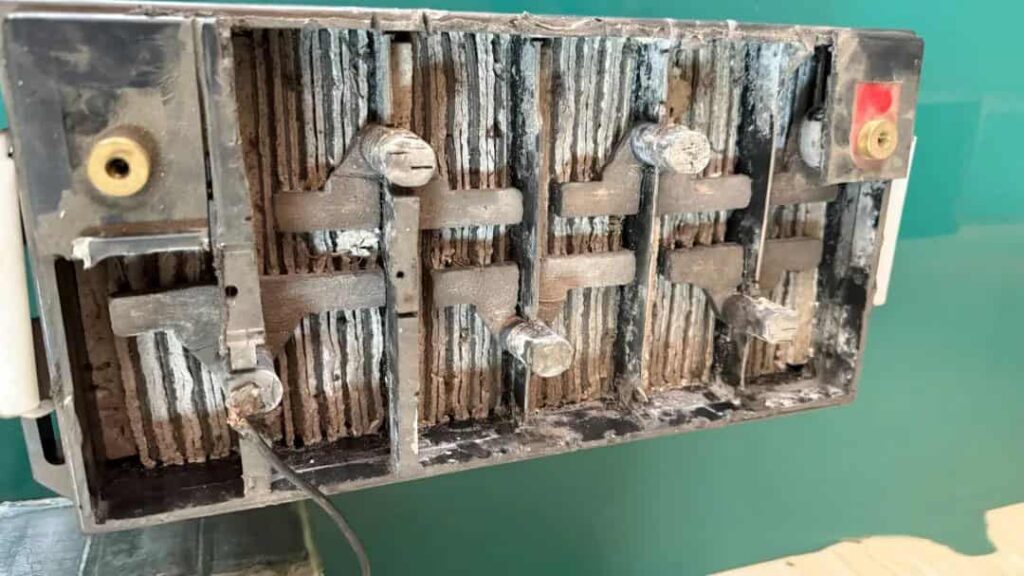
- Physical damage to the case
- Severely swollen or bulging
- Age over 5-7 years
- Completely dead (0V reading)
Method 1: Desulfation for Flooded Batteries
Sulfation is the most common cause of battery failure. Here’s how to reverse it:
What You’ll Need:
- Distilled water
- Epsom salt (magnesium sulfate)
- Battery charger with desulfation mode
- Multimeter
- Funnel and measuring cup
Step-by-Step Process:
Step 1: Safety First Put on all protective equipment. Work in a well-ventilated area away from sparks or flames.
Step 2: Initial Assessment Check voltage with a multimeter. If below 10V, the battery may be too far gone. Remove the battery from the vehicle and clean the terminals.
Step 3: Electrolyte Preparation For flooded batteries, carefully remove the caps. If electrolyte is low, add distilled water to cover the plates. For severe sulfation, prepare a solution of 1 tablespoon Epsom salt per cup of warm distilled water.
Step 4: Desulfation Process
- Add the Epsom salt solution to each cell
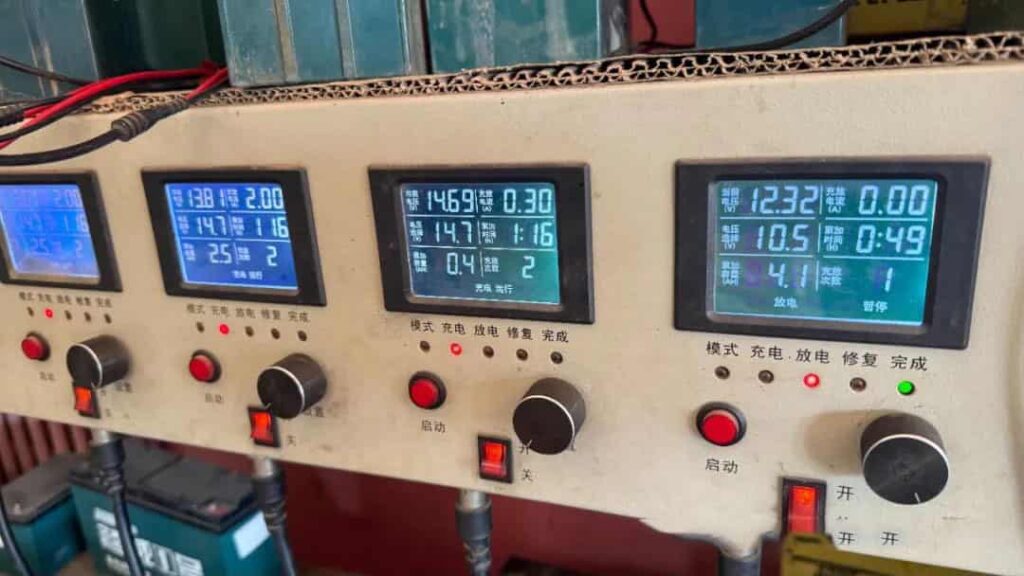
- Connect a smart charger with desulfation mode
- Charge at 2-4 amps for 24-48 hours
- Monitor temperature – stop if it exceeds 125°F (52°C)
Method 2: Reconditioning AGM Batteries
AGM batteries require different techniques since they’re sealed:
The Freeze Method (Use with Extreme Caution):
Step 1: Preparation Ensure battery is completely discharged. Place in a plastic bag to prevent moisture contact.
Step 2: Freezing Place in freezer for 24 hours. This can help break down sulfate crystals.
Step 3: Thawing and Charging Allow to reach room temperature completely. Charge slowly at 2 amps for 24 hours.
⚠️ WARNING: This method can cause case cracking. Proceed only if the battery is otherwise worthless.
Method 3: Electrolyte Replacement (Advanced)
This method is for experienced users only and involves complete electrolyte replacement:
Materials Needed:
- New electrolyte solution (1.265 specific gravity)
- Acid-resistant pump or syringe
- Neutralizing agent (baking soda)
- Proper disposal containers
Process:
- Completely discharge the battery
- Carefully drain old electrolyte into proper disposal container
- Rinse cells with distilled water
- Refill with new electrolyte
- Charge slowly and monitor closely
⚠️ CRITICAL: Old electrolyte must be disposed of properly at hazardous waste facilities. Never pour down drains or onto the ground.
Testing Your Repair Success
After any repair attempt, proper testing is crucial:
Voltage Test:
- Fully charged battery should read 12.6-12.8V
- Individual cells should read 2.1-2.15V each
Load Test:
- Apply 50% of CCA rating for 15 seconds
- Voltage shouldn’t drop below 10.5V
Capacity Test:
- Discharge at C/20 rate (20-hour capacity)
- Time to 10.5V should be close to rated capacity
Maintenance After Repair
Successfully repaired batteries need extra care:
- Regular monitoring – Check voltage monthly
- Proper charging – Use smart chargers with appropriate profiles
- Clean terminals – Prevent corrosion buildup
- Avoid deep discharge – Maintain charge above 50%
Understanding Why Repairs Work
To truly master battery repair, you need to understand the underlying chemistry. The sulfation process that causes most failures is reversible under the right conditions. Our detailed explanation in The Structure and Working Theory of a Lead-Acid Battery covers exactly how these chemical processes work and why these repair methods can be effective.
When to Call It Quits
Sometimes, despite your best efforts, a battery can’t be saved. Signs to stop trying:
- No voltage improvement after 48 hours of charging
- Excessive heat during charging
- Visible plate damage
- Electrolyte won’t hold proper specific gravity
Final Thoughts
Battery repair can extend the life of your lead-acid batteries and save money, but it’s not magic. Success rates vary widely based on battery condition, age, and repair method used. Even successful repairs typically restore only 70-80% of original capacity.
Remember: You assume all risks when attempting these repairs. If you’re uncomfortable with any step, consult a professional or consider replacement.
Looking for the tools mentioned in this guide? Check out our recommended battery repair equipment above. For more battery maintenance tips and troubleshooting guides, explore our other articles.
🔋 Tags: lead-acid battery repair, battery reconditioning, desulfation, AGM battery repair, battery maintenance, DIY battery repair